How to Assemble Cubicle Walls
Believe it or not setting up office cubicles is not such a difficult task. One might even suggest that navigating through the cubicles after they are built is actually much more complicated. So grab a friend (very important), and get started.
Materials/getting started
Most cubicle systems come with exactly the same materials. Depending on the type panels, there are straight panel connectors, T-shaped connectors, corner connectors, four-way or “star” connectors, and of course the previously mentioned friend.
Plan ahead
After you have a look over your materials, design a layout on a piece of paper or with a computer design program. If you start building without a plan, you are likely to get confused. Decide how many cubicles you need, how many cubicle walls you have, what area of space you want to build in, and start the assembly. This is probably more difficult than it sounds here, but know that many companies specialize in the setup and design of cubicle walls.
Building cubicles
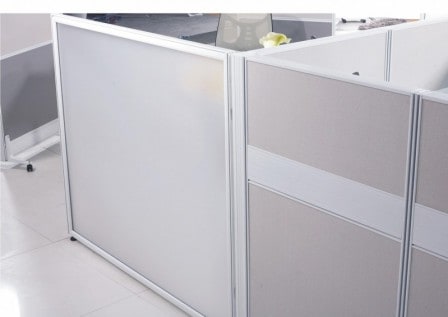
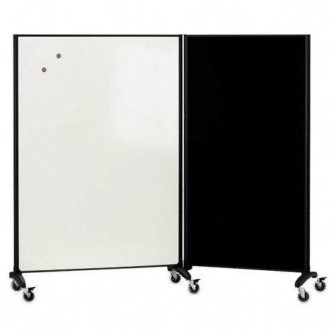
Begin by standing two straight panels together. The panels have grooves in them so that they conform and click into the metal connectors. For straight walls use the straight connectors. The 90 degree corner connectors connect the edges of a cubicle. If you have these, have a friend hold the other perpendicular wall in place while you put them together. Follow the design slowly, each cubicle at the time. For a three way connection, use the “T-Connector” snapping one cubicle wall directly into the center of a perpendicular partition. And, naturally, any four-way connection uses the “star” connector. The four way is created by standing the ends of four walls into a cross shape connecting at the top and bottom.
The basic cube
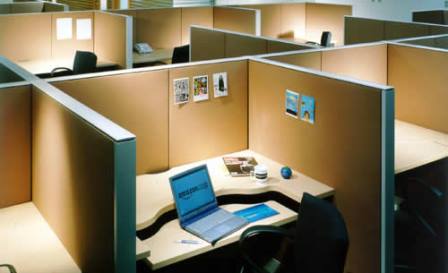
To make the basic cubicle setup, manipulate the previously detailed connections in any way according to the desired overall layout. Remember: the basic cubicle is three walls connected at two 90 degree angles. It sounds rather obvious, but leave an open section so you can get in and out.


